Enabling the Reception Bell and Selecting the Graphic File
The Reception Bell function adds a configurable button to the VisitorRego welcome screen, allowing people at your VisitorRego unit to notify staff when assistance is required. This article explains how to enable the Reception Bell and select the graphic that will appear on the button itself.
Enabling the Reception Bell and Selecting the Button Graphic
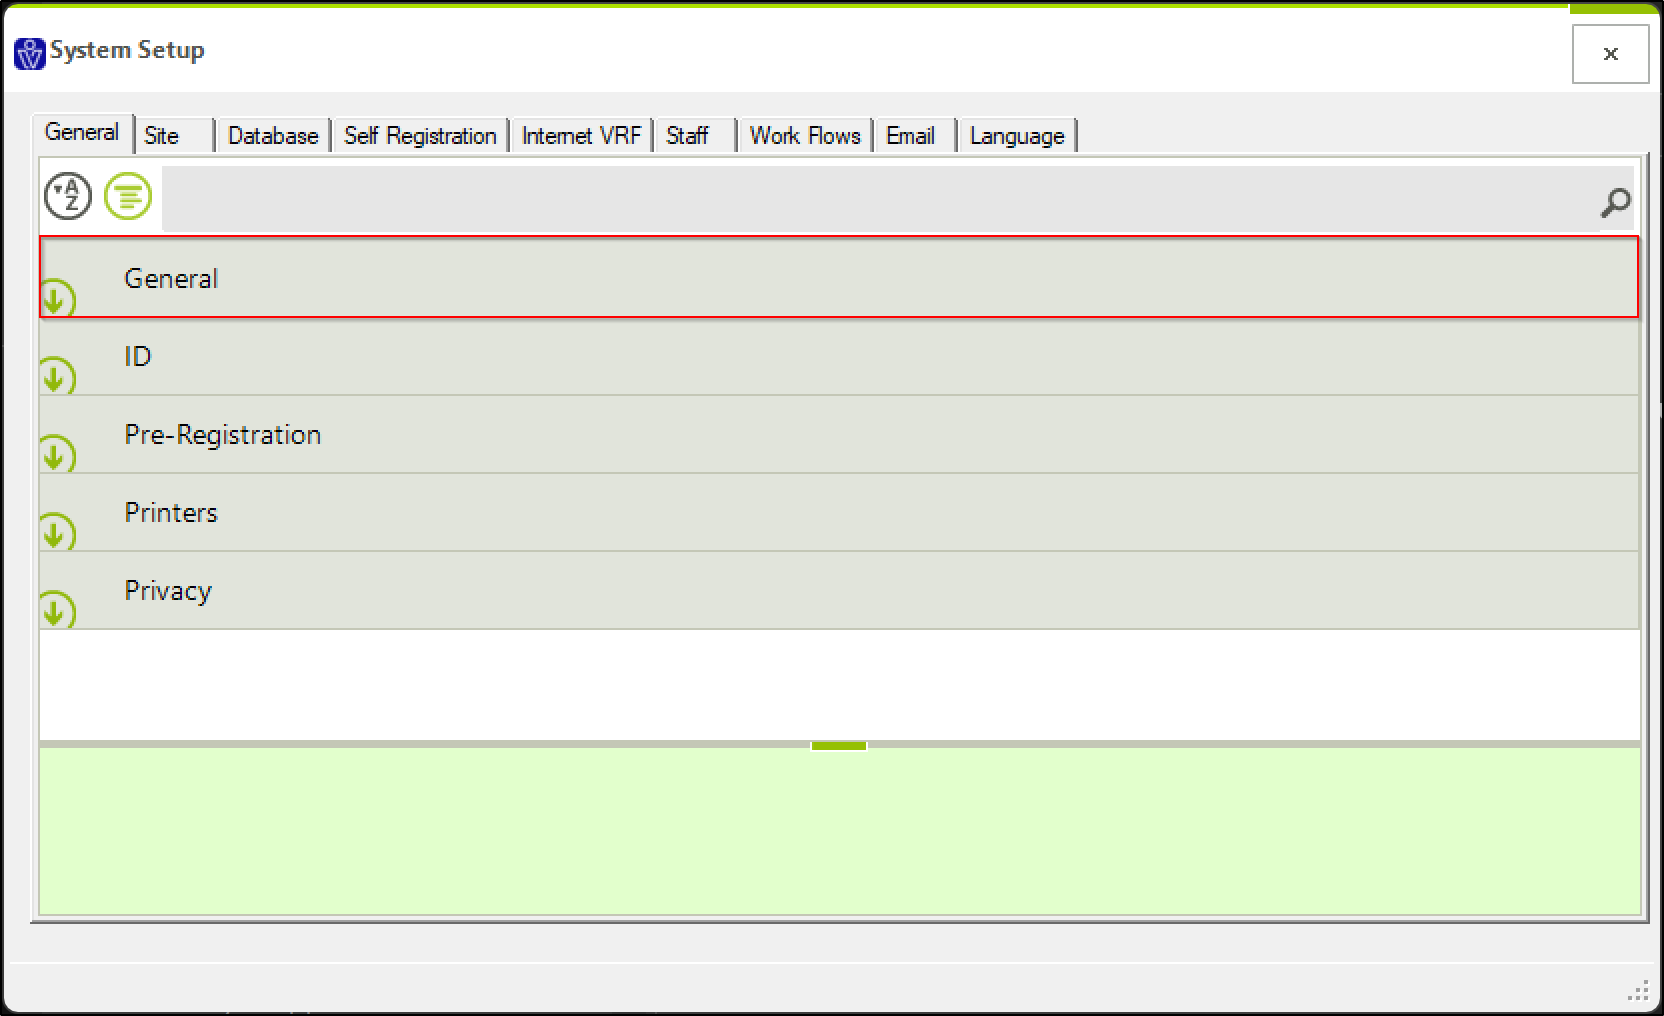
1. From VisitorRego's Admin mode select Options > General tab, then expand the General section.
2. Scroll down the list of settings until you find the Reception Bell option, then tick the checkbox to enable the function.

3. Tap the Reception Bell Button Face field. A button with three dots (...) will appear on the right.

4. Tap the button with three dots (...) to open the file browser, navigate to the location of the button graphic file you want to use, and select the file.
5. Tap the Open button to confirm your selection.
3. Tap the Reception Bell Button Face field. A button with three dots (...) will appear on the right.
4. Tap the button with three dots (...) to open the file browser, navigate to the location of the button graphic file you want to use, and select the file.
5. Tap the Open button to confirm your selection.

The
Reception Bell button graphic is the image that appears on the welcome
screen as the button itself that users tap to notify staff. It can
include text such as “Reception Bell,” “Couriers Press Here,” or any
other label suitable for your site. The button graphic can also be
customised to match your branding. Contact VisitorRego Support if you would like us to create or update a custom graphic for your system.
6. Close the System Setup window to save the changes.
Once
the Reception Bell is enabled and the button graphic has been selected,
the next step is to define the area on the screen that users can tap by
positioning and resizing the touchable button area.
For full instructions, please refer to our Positioning and Resizing the Reception Bell knowledge base article.
For full instructions, please refer to our Positioning and Resizing the Reception Bell knowledge base article.
Optional Notification Settings
Additional options are available to configure the content and behaviour of the Reception Bell notification when the button is pressed. These settings include:
Reception Bell Notify Subject — Sets the subject line of the email notification.

Reception Bell Notify Message — Sets the body text of the notification. This text will appear in the email notification, SMS notification, and on-screen popup when the button is pressed.

Reception Bell Wait — Specifies how long to wait before the button can be pressed again, preventing multiple notifications being sent at once.

Reception Bell Notify Subject — Sets the subject line of the email notification.
Reception Bell Notify Message — Sets the body text of the notification. This text will appear in the email notification, SMS notification, and on-screen popup when the button is pressed.
Reception Bell Wait — Specifies how long to wait before the button can be pressed again, preventing multiple notifications being sent at once.

Related Articles
Reception Bell - An Overview
The Reception Bell is a VisitorRego feature designed for situations where a reception area may be unattended. It provides an easy way for people at a VisitorRego unit to request assistance, notify staff of their arrival, or announce a delivery. When ...Positioning and Resizing the Reception Bell
The Reception Bell function adds a configurable button to the VisitorRego welcome screen, allowing people at your VisitorRego unit to notify staff when assistance is required. Once the Reception Bell has been enabled and a button graphic has been ...Setting up Email notifications
VisitorRego is able to send real-time notifications to staff members to let them know when a visitor has signed in to meet with them. Notifications can be delivered via email, SMS, or a combination of both, depending on your setup. This article ...Unattended Reception - Displaying Staff Phone Details
If your reception area is unattended, you may want visitors to call the staff member they’re meeting with. VisitorRego can display the staff member’s phone or mobile number directly on the screen once the sign-in process is complete. This eliminates ...Setting up SMS Notifications
VisitorRego is able to send real-time notifications to staff members to let them know when a visitor has signed in to meet with them. Notifications can be delivered via email, SMS, or a combination of both, depending on your setup. This article ...